Category Archives: crafty

How to make a MINECRAFT Steve Costume for less than $10

Halloween will be here before we blink. And it seems like every kid is currently obsessed with Minecraft. (If you don’t hear about this game at least 50+ times a day, you obviously don’t have a 5  to 15-year-old). Trust me: Minecraft is HOT.

Problem: if you stroll down your local big box store or seasonal costume shop, you will NOT find any Minecraft costumes. What? You will find them online—to the cha-ching of $25 and up: Minecraft: Steve Cardboard Head. That’s JUST for the printed cardboard box.

You want the official Minecraft Blue Diamond Sword? $50 and up. The Blue Diamond Pickaxe? 45 buckaroos. You can find the regular Minecraft Foam Sword and Pick Axe for around $25 —but they’re just pieces of foam.

Don’t know about you, but I’m far too cheap to shell out $75 for a cardboard box and a couple of pieces of foam.

Solution: make your own! I am about the un-craftiest mom in the world, and I made one pretty easily. And I’ll show you how so you can make your kid(s) do Minecraft happy-dances, too.

How to make a Minecraft Steve costume for cheap! homemade minecraft costume

Very happy 10-year-old in his homemade Minecraft costume.

After some online research, I found this post at SteveLange.net which gives a link to a free Steve face PDF.

How to make a Minecraft Steve Head for less than $10

You’ll need:

PDF pattern
11×17 printouts from PDF
11x11x11-inch box
glue stick or spray adhesive
scissors
tape (not necessary, but handy)

  1. Download the PDF from this link via SteveLange.net.
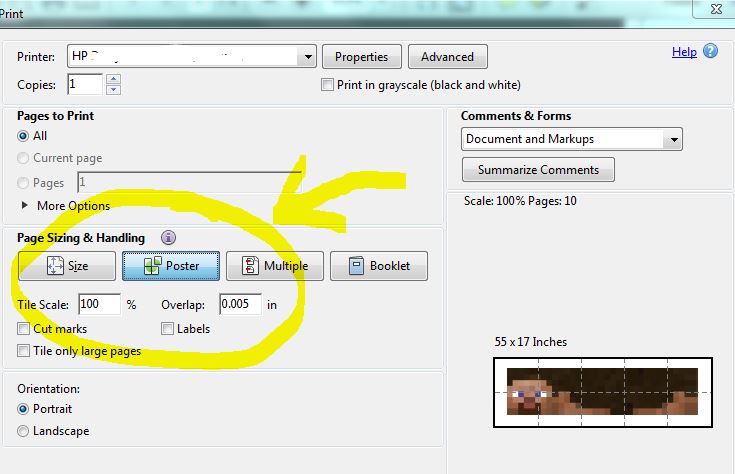
  2. Save the PDF to a thumb drive and take to your local copy shop to print out. My home printer can’t handle the paper size or quantity of ink, but my local Office Max/Kinkos/whatever can. Tell them to print it in poster setting with tile scale 100% and 0.005 overlap. I had to walk the employee through it. The Steve Head PDF makes 5 11×17-inch color prints and the Steve Hair PDF makes 2. The pages cost me $1.19 each.  steve head pdf  directions
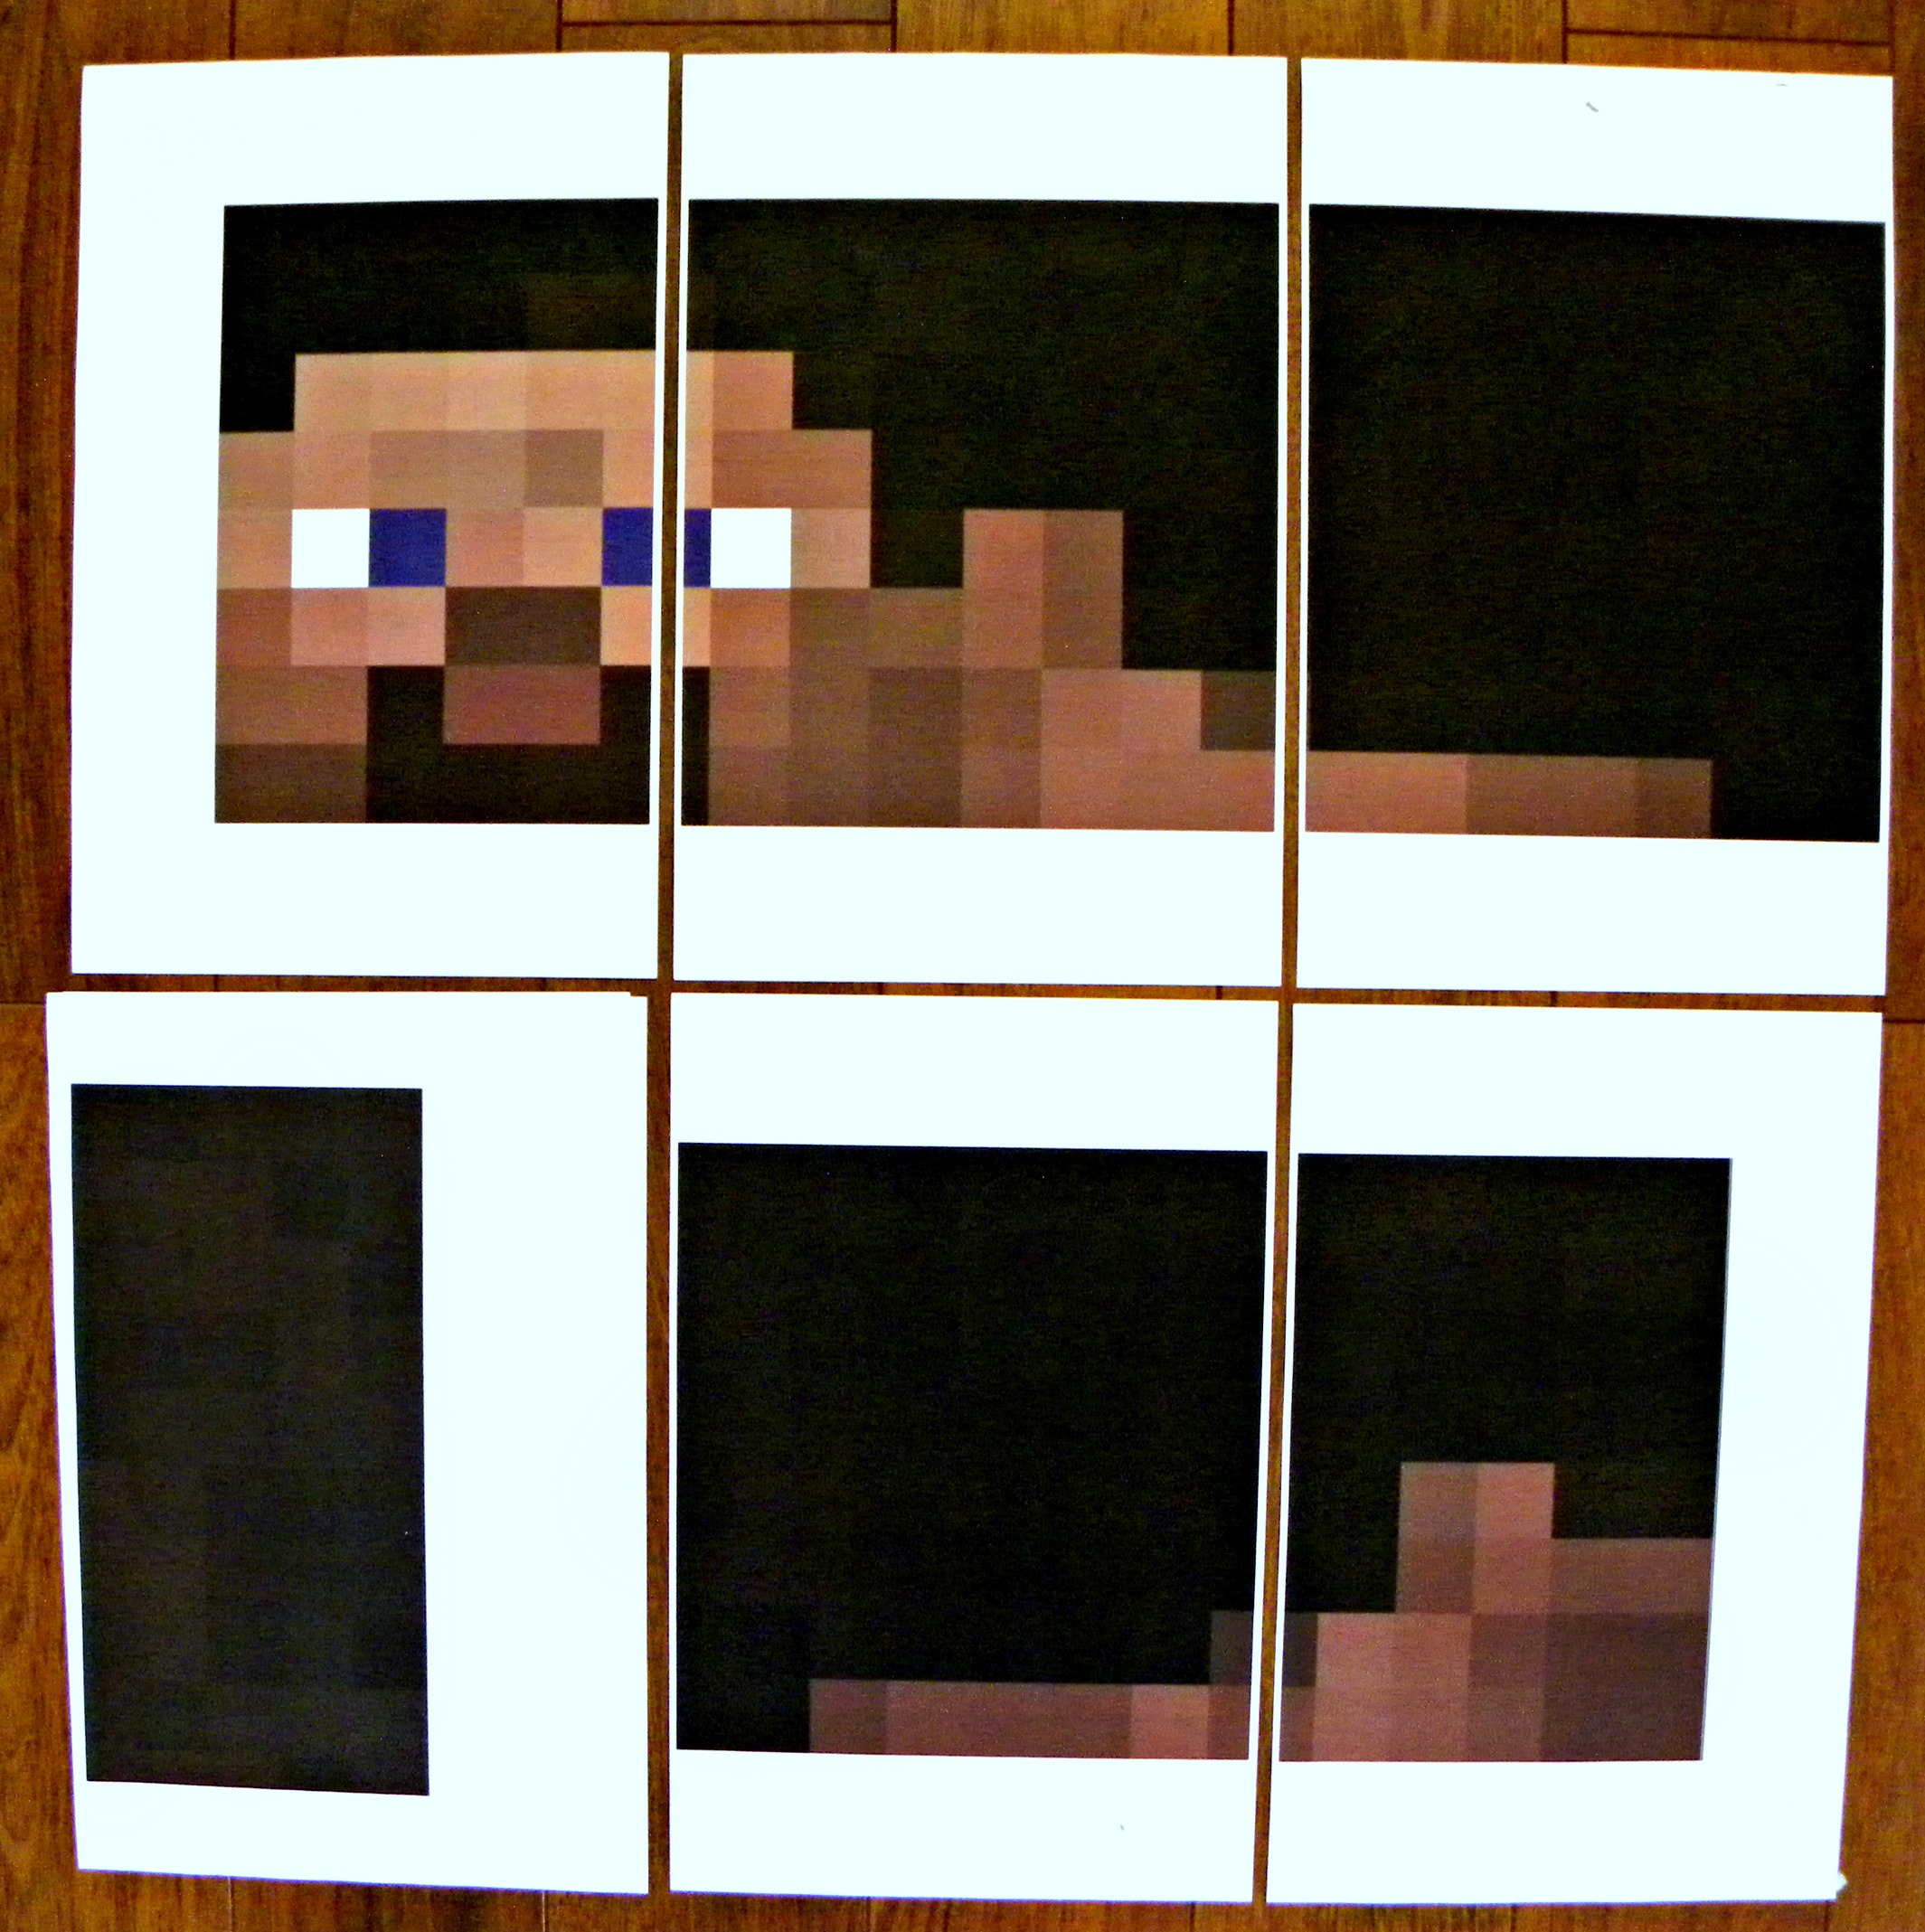
  3. Trim off the white edges.how to make steve head mincraft
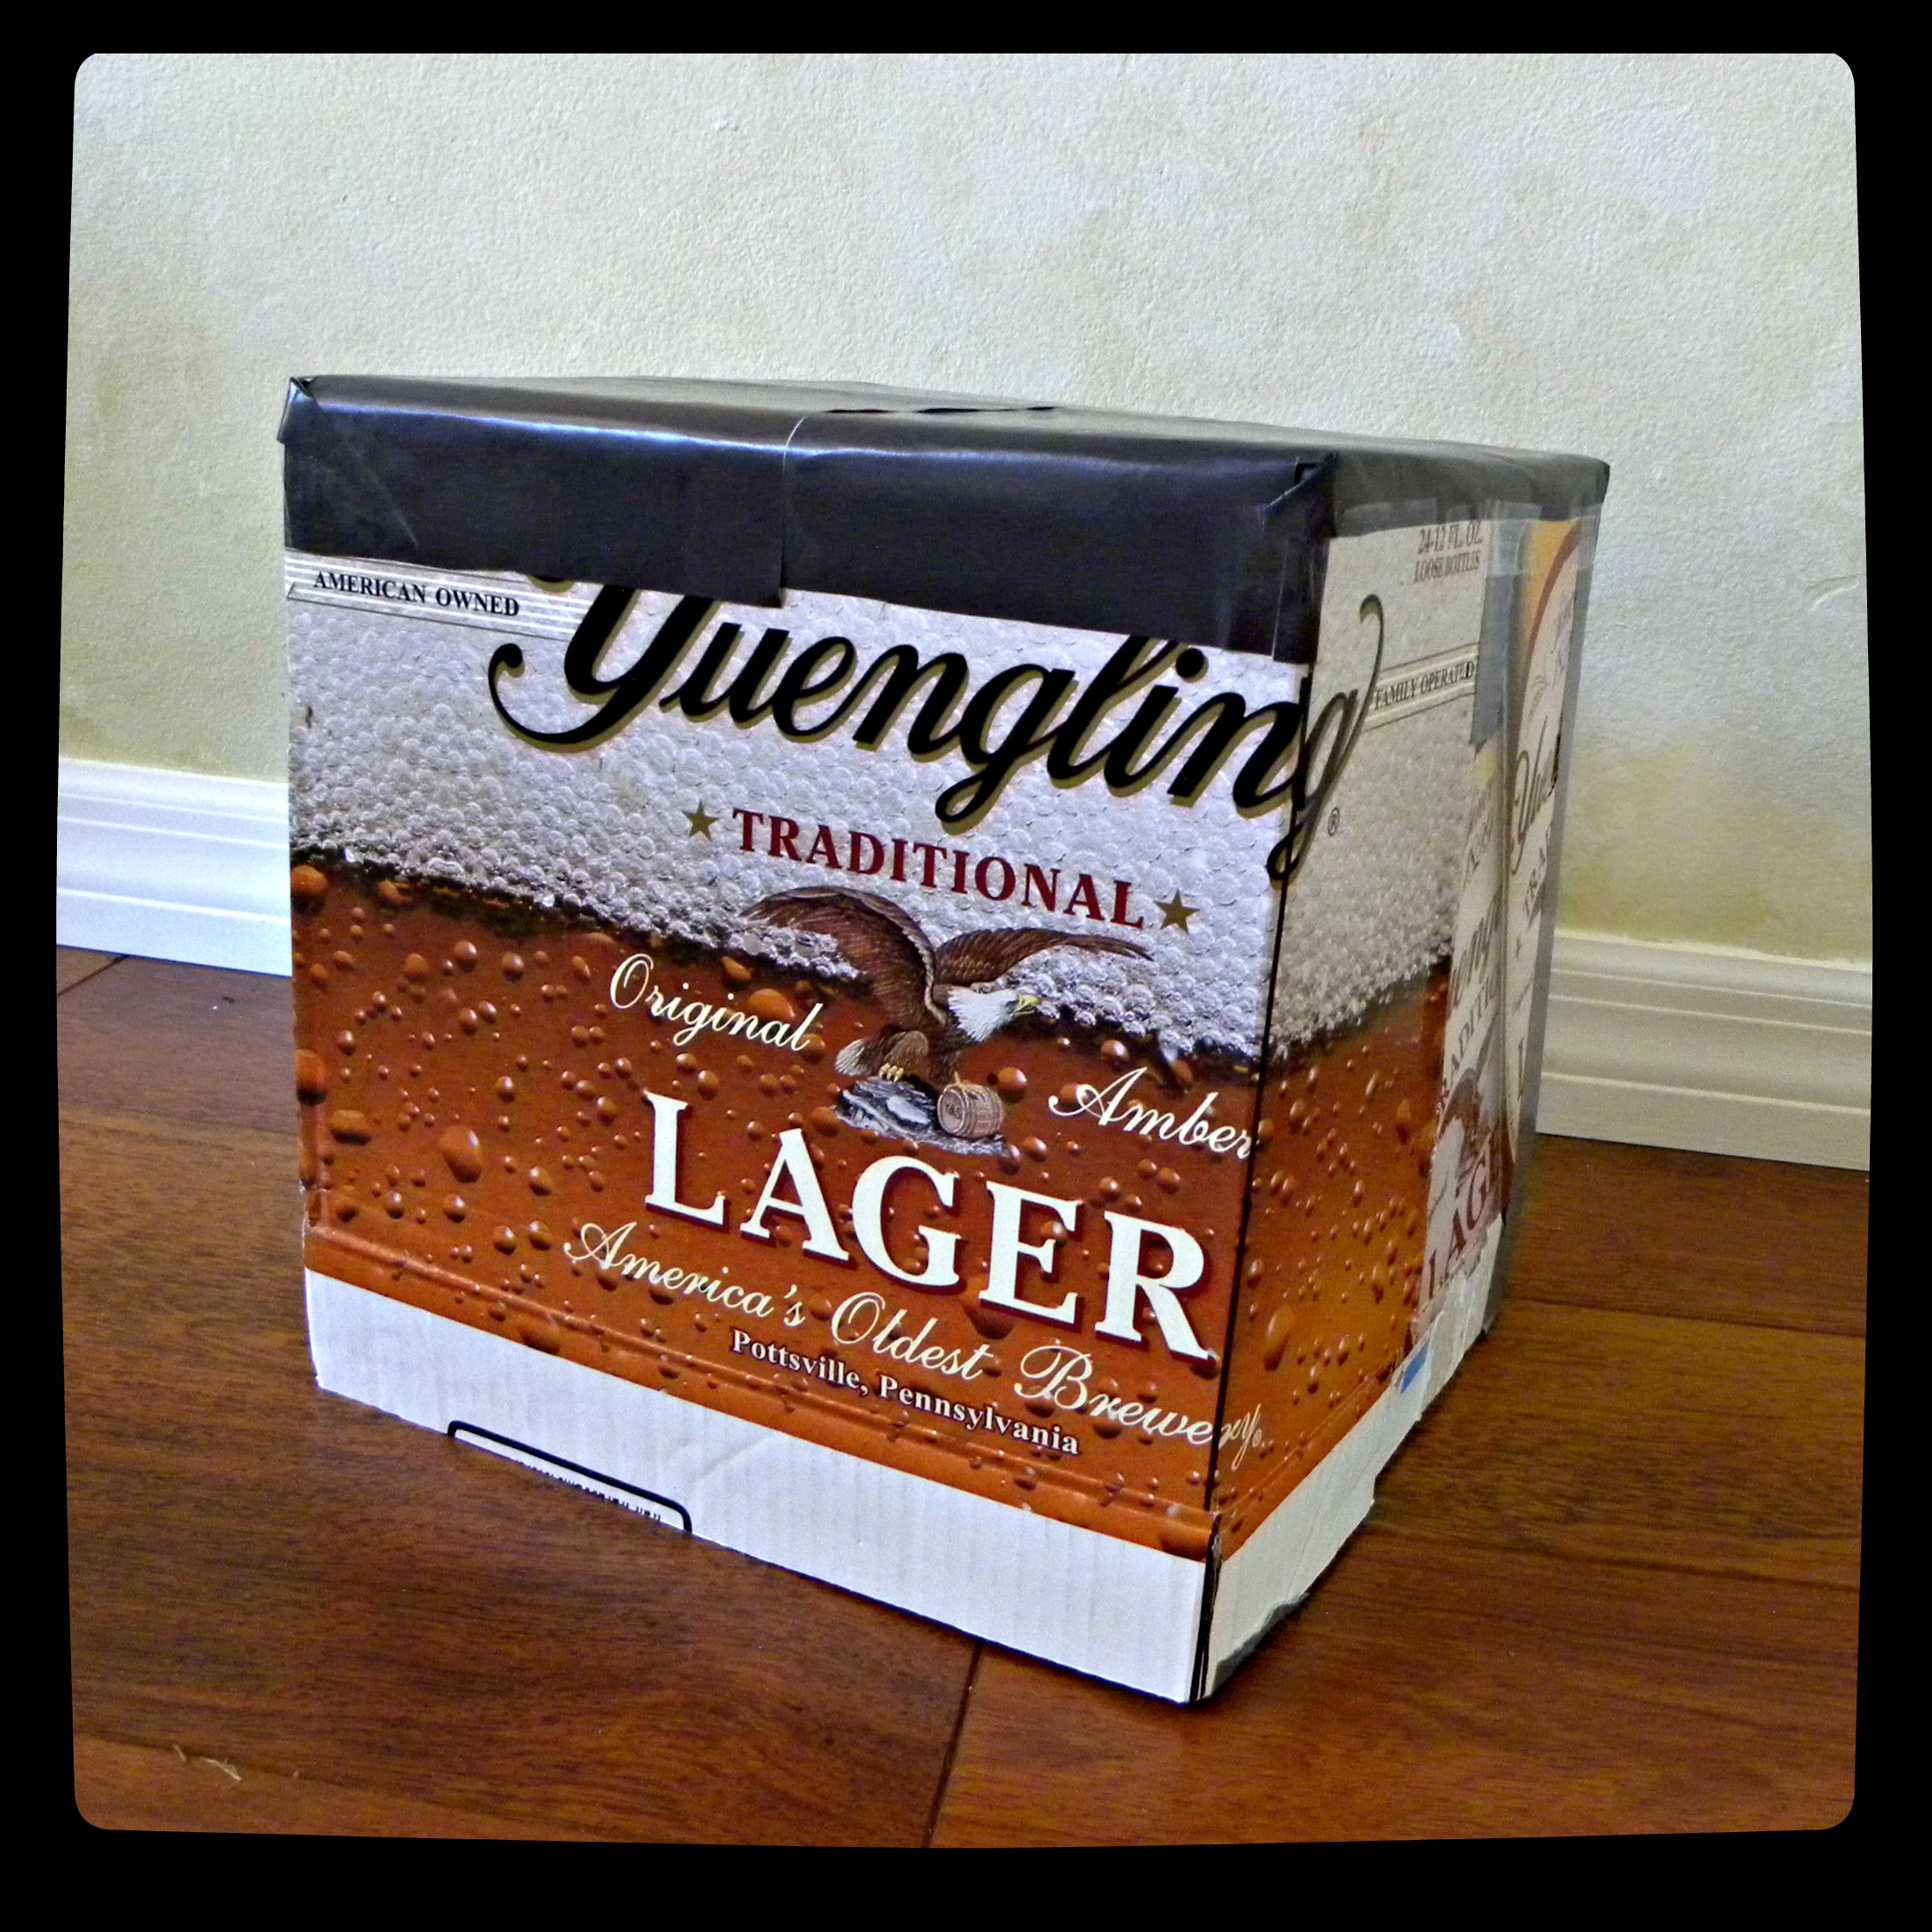
  4. Prep your box. The pattern is scaled for an 11 x 11 x 11-inch box (can buy at Kinko’s, etc.). This box actually will measure 11.5 x 12 x 11.5.  I didn’t want to buy a box, so I cut down a beer case to about an 11-inch cube. (There’s some room for overlap in the printed patter, so it worked just fine.)how to make a minecraft costume
  5. Glue the hair on top of the box first for a nice overlap. I was going to use my can of spray adhesive, but it was giving me fits. (Yes, I did spray myself in the face. No, it wasn’t fun.) I broke out a glue stick, and it worked perfectly.  Note: I did reinforce the bond with clear tape around the edges—the face pages will cover, so no worries.
  6. Glue on the rest of the head printouts. I did a rough placement to make sure it all lined up correctly before I slathered the papers with glue. On my box, I had several inches of overlap on the back of the box (hair) but it still looked perfect!
  7. Cut eye holes. Yeah, your kid might want to see (he had to remind me).

That’s it. You should now have a kick-ass Steve head for less than $10.

How to make an easy Minecraft Steve costume via kerryannmorgan.comPin It

***UPDATE*** I’ve had many people ask how to keep the box centered on the wearer’s head. I first used bubble wrap and newspaper padding (yes, it kind of worked). I also tried using a plastic play construction hat that fit neatly inside and anchored the box to the head well. BUT, the best option came from checking out a “real” Creeper head. See this simple device? It doesn’t look pretty (neither does wadded up newspaper) but it works great and is EASY to make.

inside of minecraft box head

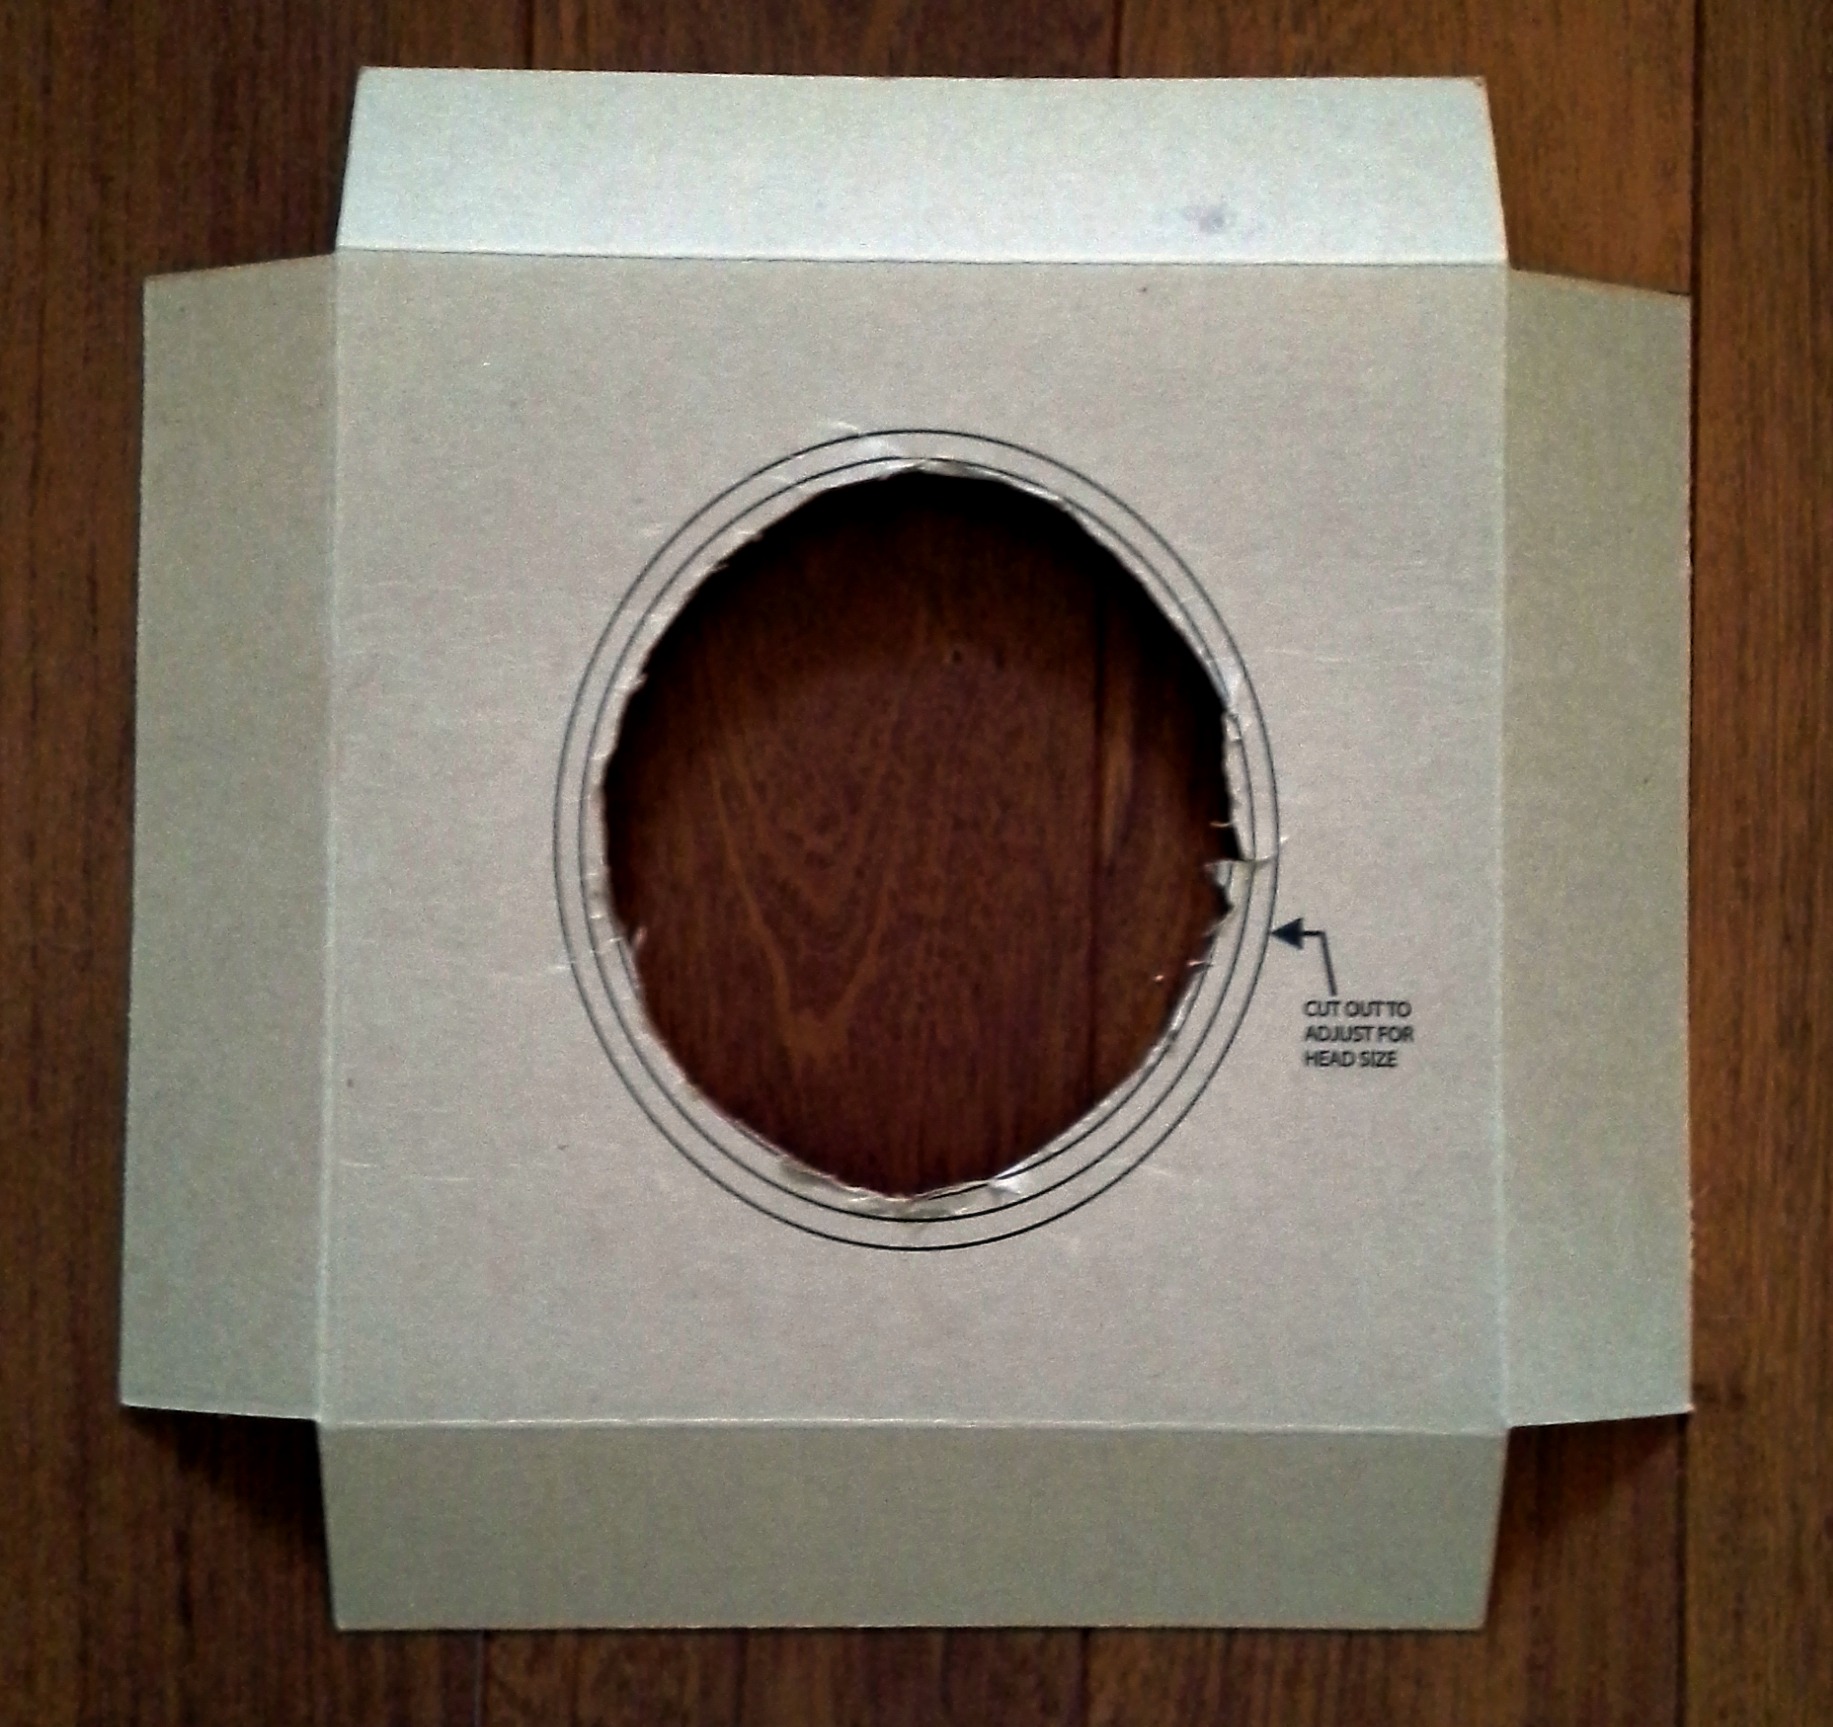
  • Cut a cardboard square about 4 inches     larger than your box head. (So, if your box is 12 x 12, cut it 16 x 16.)
  •  Measure about 2 inches out from each side and draw an inner square to use as a folding template.
  • Score cardboard along fold line, if necessary.
  • Cut out squares along corners.
  • Cut a rough oval in center so it can sit on your child’s head. (This one measured 6 x 7 inches)

And guess what? You can make the diamond sword and pickaxe too!  Check out my next post for download PDF and easy instructions. (check them out HERE) I made both for less than $5 total!

According to my Minecraft Expert, Steve wears a blue T-shirt and jeans. I picked up the proper aqua/blue shirt at the dollar store (score!) and paired it with some jeans.

Entire costume (Steve head + diamond sword + pickaxe + shirt) for $13!!!

Happy Kid + Happy Mom = HAPPY HALLOWEEN!!

Need a cool Minecraft trick-or-treat bag?

Check out this super easy (and cheap!) DIY Creeper bag:

super easy creeper bagSuper Easy & Cheap CREEPER Tric-or-treat bag

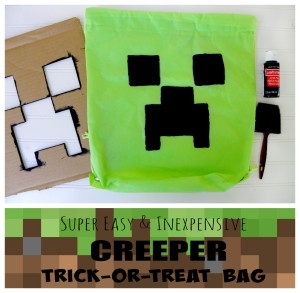
These bags are perfect
for Halloween trick-or-treating
or Birthday party goodie bags.

And the best news:
each one costs less than $1.50!

Super easy (and cheap!) DIY Creeper bag


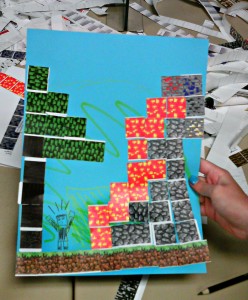
Looking for Minecraft-themed crafts for a party or program?

Super Easy (& cheap!) Minecraft Magnets -- great party favor or craft
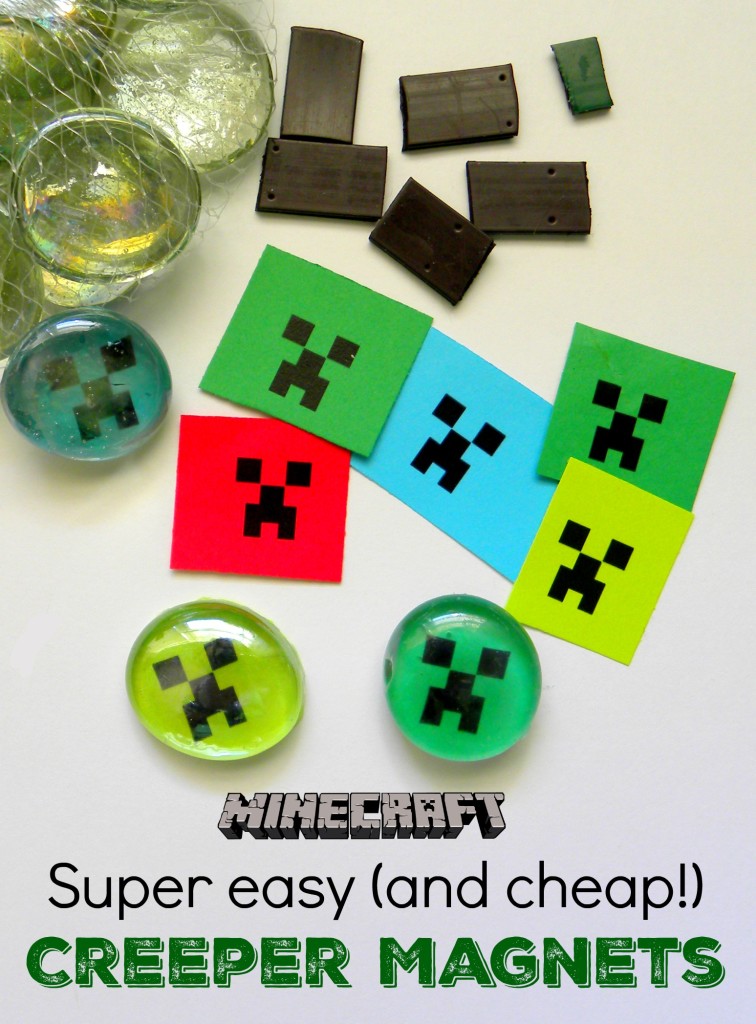
Check out this post with 5 crafts/activities including full instruction and downloads for Minecraft Creeper Magnets, Construction Paper Mob Masks, Minecraft Printable Stickers, and more!

Minecraft stickers for parties or classroom


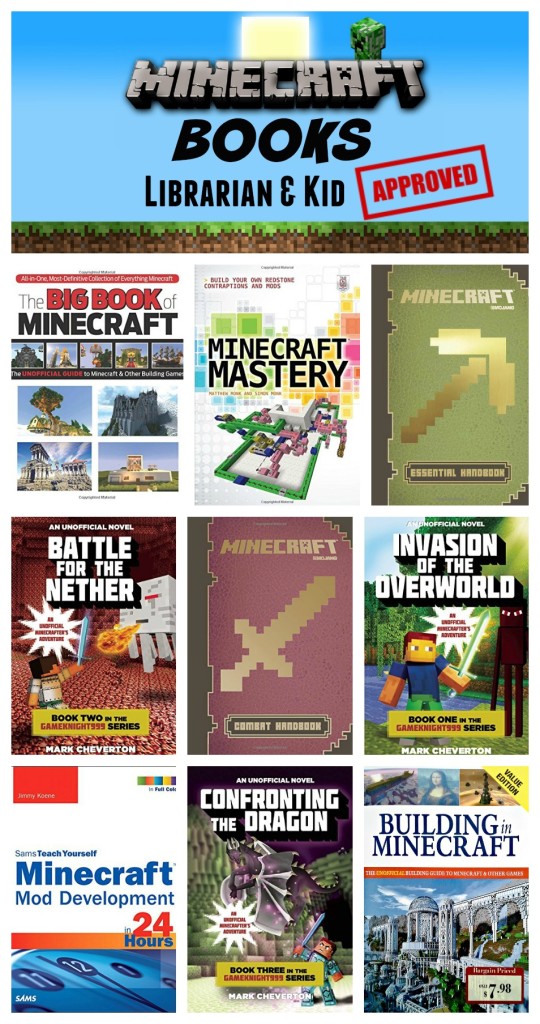
Need a gift for a little Minecrafter? How about a book?

Check out this list of awesome Minecraft books—all librarian, parent, and kid approved!

Miecraft books for boys, minecraft gifts, minecraft reviews

Update:  As of 3/14 the prices of these “official” products seems to have gone down.

If you want to check out of the “real” products:


Disclosure of Material Connection: Some of the links in the post above are “affiliate links.” This means if you click on the link and purchase the item, I will receive an affiliate commission. Regardless, I only recommend products or services I use personally and believe will add value to my readers. I am disclosing this in accordance with the Federal Trade Commission’s 16 CFR, Part 255: “Guides Concerning the Use of Endorsements and Testimonials in Advertising.”

Around the Bonfire – DIY S’mores Fire Pot

Bonfire is our theme of the day. Why? Because I am guest posting over at Kludgy Mom for Gigi’s fabulous Around the Bonfire series.

Over there I’m spilling the challenges of parenting an elementary-aged kiddo (it gets much more complicated than picking the proper pacier, trust me). I thought I’d spill a lighter secret here and share an easy hack the whole family will love: a DIY s’mores fire pot.

Our little family escaped to the beach for a few nights over Labor Day weekend. We had no set agenda, no drama, no obligations — with the exception of s’mores on the beach. I’d been a slacker mom: my kiddo had yet to feel the ooze of melted white sugar goo sticking to his fingers or yelp in awe as he made a marshmallow torch. There is a technique to making a proper s’more, and though I’d camped for years during my own childhood, I’d yet to share the tradition.

I owed this kid some kick-ass s’mores.

One teeny problem: bonfires were not permitted on our beach.

But. . .though it is as crowded as the interstate during rush hour come noon, at night the powered sands are deserted. The beach patrol may cruise by and the neighbors can be tattle-tales with itchy fingers, but save for teenagers hanging out, lovebirds strolling along the dunes, or a group of insane shark fisherman carrying their poles and kayak towards the jetty (did I mention our beach is The Shark Bite Capital of the World?)—there aren’t many poeple.

It was worth the risk, even if we couldn’t do a REAL fire. So we’d make our campfire portable—and easy to extinguish and run. 


Pin It

All you need:

  • an unglazed terra cotta pot
  • heavy duty aluminum foil
  • charcoal
  • lighter fluid & lighter
  • S’mores supplies 

I used a 10-inch orchid pot—just what I had empty in the garage. Line the pot with foil. If the pot will be exposed to wind or a heavy breeze (like our beach gusts) leave enough foil to pull up to shield the coals from the wind.  Fill it about halfway with charcoal and douse with lighter fluid. Light and watch that baby glow.

*You can go old school and use whittled sticks or pick up some of the nifty extendable s’mores roasting forks (I found at Target) or 30″ wooden roasting sticks (from Christmas Tree Shop).

*Instead of the traditional Hershey’s bars I used these Moser Roth dark chocolate bars from Aldi. They fit on the graham crackers nicely, were far cheaper, and, well, dark chocolate makes me swoon.

Did I mention it was the weekend of the blue moon? Only when the moon appeared over the roaring waves it shone like a crimson fireball — more like a solar eclipse from a sci-fy tale than a silvery globe. Either way, it was brilliant and bold as the little flowerpot flames seemed to lick at it’s trail.

And the s’mores were pretty damn perfect, too.

Some nights are just made for memories.
Some nights you just have to live in the moment. 
And break a few rules.

Pin It

Remember to head over to Kludgy Mom and check out her Around the Bonfire series and her other words of wisdom!

Crafty — Tervis Glass Teacher Gift

Happy Monday to you. Did you try any recipes you found on Pinterest over the weekend?  How about any crafts for the kids, gifts, fashion statements, home improvement projects… there’s just SO much stuff to try!

If you tried something new, did it work?  Was the recipe a keeper or did you have to order take-out instead?  Did everyone ask you how you made such a spectacular gift or did you bury deep it in the trash and run to the store?

Inquiring minds want to know.

We all spend so much time pinning these brilliant ideas, but we all wonder does it really work?

Tell us. Link up below. Share your hits and misses, your 4-star ratings and your flops.  I’ll show you mine if you show me yours. 

My HIT of the week: Teacher’s Gift Cup

Everyone has been pinning teacher gifts in a desperate attempt to do something different, less expensive than a $50 gift card (which I’m sure any teacher would love but no one can afford), and useful.

I pinned a cute cup filled with single serve dink mixes, originally from Lisa Storm’s blog.

Hmm…I knew Kiddo’s teacher was a huge Yankees fan…I could find a Tervis cup and make this…  {If you don’t know Tervis glasses, you totally need to go buy one. Now. They are amazing.}

The original post even had a handy-dandy print out for the straw flags! Perfect!

This end of year teacher gift turned out much better than it looks in the picture, and Kiddo said his teacher loved it.

Total cost: around $15

WIN!

************************************

Now its YOUR turn. Link up your Pinterest hit or miss. Maybe you tried it a few weeks ago and already posted about it. Maybe you have the pictures of your dinner disaster or fabulous cupcakes still sitting on your camera (because we all know we take pictures of everything).  Link it up.

I only ask that you:

* Give credit where it’s due. Include links on your post to the original blog post that gave you your inspiration.

* Feel free to include a link to your Pinterst Page. More followers, yeah!

* Would you mind adding the blog badge below to your post so others can join in the fun? {Thanks!}

* Have fun!

Vinobaby's Voice

Follow Me on Pinterest
Pin It

Clear the Clutter by Filing Your Farvorite Magazine Clippings with Pinterest

If you are anything like me (or the estimated 4 MILLION unique visitors per day) you may spend a bit too much of your free time on Pinterest. Time you should be doing something productive.

I decided to combine those two options.

If you are anything like me, you have stacks of old magazines laying around the house, collecting dust bunnies, and resembling the Leaning Tower of Pisa. There’s stuff in there you want to keep, but what do you do with it?

I’ve tried to rip out pages of design ideas, gift suggestions, cute outfits, and the bane of my clutter RECIPES. For years I neatly cut out and taped all the recipes into homemade cookbooks.  Then I moved onto a database file system, but that involved cutting and pasting and reformatting, and the photos rarely transferred correctly.

If you follow me on Pinterest (and if not, why not?) you may have noticed I’ve been pinning like a crack fiend lately.  I’m going through all my old magazines, pinning the recipes & designs I want to keep, so I can get rid of the clutter.

Those magazines from 2010 — gone!

{Technically, they are being ceremoniously donated to the library book store so someone else can enjoy them.}

It’s so much easier to flip through my Pintrest pics to get dinner ideas. And there’s room to comment on them, so I can add if I’ve tried it/liked it/altered it.***

And there’s no worry about copyright infringement — everyone from Better Homes & Gardens to Martha Stewart now has a “Pin It” button right on the page. They’ve come to recognize the power of sharing good ideas.

Give it a try. Get rid of the clutter! And make something good for dinner.

************************************

Speaking of something good for dinner … We’ve all collected recipes and craft ideas (even though we may hate cooking and be utterly un-crafty) on Pinterest and dreamed we could do it just like in the beautiful photo.

Right.

Sometimes it does work.

Sometimes we end up with a muffin tin we just throw away instead of scrub or a cake that looks like roadkill.

We all photograph our projects (you know you do), so why not share the hits and misses. We all want to know what works. We all want to laugh at the flops so we don’t feel so bad about our failures. And it’s just nice to know what ideas are really worth a try.

So come back for PINTEREST HIT OR MISS MONDAY and link up you success and failures. Please? We promise not to laugh too hard… unless you want us to…


Pin It

Costumes for the Ages


When I was a kid, many moons ago, most Halloween costumes were homemade. Our parents dug through closets to pull out their own old clothes to make costumes (I remember many cheerleaders, hobos, varsity football players, and 50’s costumes) or if they were crafty, they sewed, painted, or pieced together something on their own.

My favorite costume:
a hand painted brown paper bag turned into a Rice Krispies box. 
Love.

Princesses circa 1979.
I think my tin-foil covered crown and egg carton flowers are way cooler than the
thin, plastic store bought costume on the left.

But I’ll admit: making costumes now is much harder. Most years I just don’t have the time or inclination.

Kiddo’s first Halloween he wore a candy corn covered onsie (he was only weeks old) until his diaper had a blow-out.

Next year he wore a clown costume I found in a bag of hand-me-downs.

I think the fireman was next: the coat a gift from Grandpa (a fire chief himself).  He wanted to be just like like him.

I must admit, the two Peter Pan years have been my favorites so far.  During this phase, the only movie he would watch was the classic Disney version full of Pirates, Lost Boys, and his first crush, Wendy.  I’ll never forget finding him in tears on the living room floor, devastated because even though he really DID believe, he still couldn’t fly.

I was lucky enough to track down this costume at a consignment shop. He still has it, and wants to keep it forever (for his kids — gasp!).

My little boy who doesn’t want to grow up.

That’s just fine with me.

Now he has matured into his Star Wars phase. I spent hours sewing his Jedi costume last year (read all about it here), so yes, that puppy’s getting recycled this year (and maybe next year if he still fits).

But whether the costume is homemade or bought after Halloween off the clearance rack, it’s the thought, and the memories that count. For kids, Halloween may be all about the loot and the parties, but for me, it’s all about capturing a little piece of childhood to live on forever.

Photobucket

I’m linking up with the lovely Nicole at By Word of Mouth Musing’s Howlerific Halloween. Join the fun! (and our bat’s named Staraluna)

Also hooking up with the fabulous ladies of Four Plus and Angel and Sellabitmum for their Boo in the Blogosphere Halloween party.

Come join the fun!


The Homemade Jedi Costume: A Jedi Seamstress, Am I

The Force runs strong in this family.

DIY Star Wars Jedi Costume

DIY Star Wars Jedi Costume

The father’s devotion was passed down to his son. Much like his father, he is.
Star Wars is holy in our home.

Whether it is vintage toys and classic movies or Legos and The Clone Wars, we seem to live, eat (yes, we even have table ware) and breath the ways of the Force.

It was a given that my young one would choose to be something Star Wars for Halloween.  The ready made costumes were cheesy and too expensive.  Being the inexperienced seamstress and incompetent crafter that I am, I decided I would try to make a Jedi costume in no time at all and for a fraction of the price.  

Do not underestimate the powers of a woman on a budget.


robe pattern, cloak pattern, jedi pattern, jedi costume$15? No thanks.

I asked my M-I-L, an accomplished seamstress, for help and advice
(since I am afraid of my sewing machine’s vast powers).
She said we had to BUY a pattern. You cannot sew anything without a proper pattern.

That is not how I roll.

Patience. Use the Force. Think.

I harnessed the power of the internet to guide me on my quest. I googled the instructions.

There is no try. Only do or do not. 

Eventually, I used two yards of cheap fabric, some photos from one of our many Star Wars books, and this easy to follow How to Make a Jedi Robe tutorial to whip up a Jedi costume for my young Padawan Apprentice.

jedi robe tutorial, star wars costume, homemade jedi costume 1

jedi robe tutorial, star wars costume, homemade jedi costume 2

Okay, perhaps “whip up” may be a bit of an exaggeration.
It took me about two days of fighting with my cursed machine to figure this out,
but in the end, it wasn’t rocket science or like trying to fix a hyperdrive.

jedi robe, jedi robe pattern, star wars costume, jedi costume, homemade jedi costume, sew jedi

Even our animals feel the way of the Force, they do.
jedi costume, halloween, darth vader  and jedi
My chosen one, his powerful light saber drawn, as he confronts the dark side.
(Who knew Darth Vader liked candy?)

A happy one, is he…

 This project was pretty easy. If you want to buy a Star Wars costume for your little fan,
check these out!

Fab &Funny Wine Charms

Saturday night we had friends over for an evening of wine tasting, recipe experimentation, and intelligent conversation. I broke out the “good” Waterford tulip white wine glasses only to find {gasp} trash bag twist ties wrapped around their delicate bases. Hubby couldn’t find our wine charms and went all MacGyver on me. Hence, our Redneck Wine Charms.

I was not amused.

It was time to find some proper wine charms.  It does get rather old trying to delineate whose glass is whose…especially after you have consumed a few glasses…

The only place I could find ANY cool, fun, or funky wine charms was Etsy.  Which ones should I choose?


Which ones shall I buy?